First of all, we all need to understand one basic thing: there’s no need to ever buy bread from the shops when you know how to make your own. It’s very easy to make a nice loaf of bread and should never cost you more than $1 when you add up all the basic contents that go into a nice, simple loaf. There’s no need to pay $5 or more for a loaf of artisanal bread from your local market when you can learn how to make an even better loaf at home… and you don’t need that $300 bread machine either!
First, a bit of history: Wheat has been a staple in the human diet for over 10,000 years and evidence of wheat cultivation can be dated back to 9,000 BC in the Levant or what is now known as Iraq. Prior to this wild wheat, emmer and barley were used to make primitive breads. It was when early hunter/gatherers learned to grind wheat and other cereal grains that our love of bread was born. Farmed in the Levant and in the Nile Delta, wild emmer was the first cereal grain to be domesticated. Being a coarser and heavier grain, it would have produced a very filling and unleavened loaf in it’s time.
As farming of wheat continued throughout history preferred strains would be favoured and cultivated eventually leading to what it is we bake with today. The use of yeast in bread-making was something that came along much further in the evolution of bread. Ancient egyptians were the first to ferment dough and bake leavened loaves in clay ovens as opposed to over fires or hearths. Pliny The Elder had documented in 77 AD that barbarians in Iberia and Gaul were skimming off the foam from beer to use it in creating a lighter loaf of bread. The Romans later adopted this method in making their own breads as well.
Our ancestors didn’t have quick-rise yeast packets at their disposal so they had to find more creative methods to make a leavened loaf of bread. This starter is a simple Lievito Madre or Mother Yeast similar to that which our foremothers and forefathers would have used when creating their daily bread.

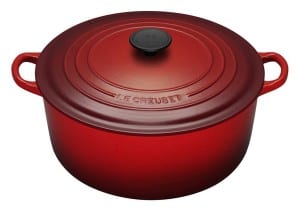
So let’s get to the recipe, shall we? If you’ve got your own sourdough starter, you’re good to go. If you’d like to make your own that you can use for years to come there’s a terrific recipe for Sourdough Starter (Biga or Lievito Madre) here on Tavola, give it a try if you want to learn how to make and keep your own starter. It’ll change your home bread-baking projects for the better. The other item this recipe calls for is a lidded cast-iron casserole dish. Any brand will do; I use Le Creuset french ovens like the one pictured below.
 When I first started making sourdough bread I went through a series of experimental recipes for weeks and weeks trying to find the best way to make a perfect loaf. I spent a few weeks going through the ‘no knead’ bread recipes found online by Mark Bittman and Jim Lahey, and some kneaded methods like Paul Hollywood’s and Jamie Oliver’s recipes. While I found the methods they all used to be truly fascinating, the end result for me was always a loaf that fell flat after the second rise while trying to flop it into the preheated cast-iron french oven. It happened every… single… time. So! I ended up stepping away from it for a spell and then coming back to the table with my own method. It’s quick, simple, and it produces lovely results. It also only takes 3.5 hours from start to finish to make it. Let’s give it a try, shall we?
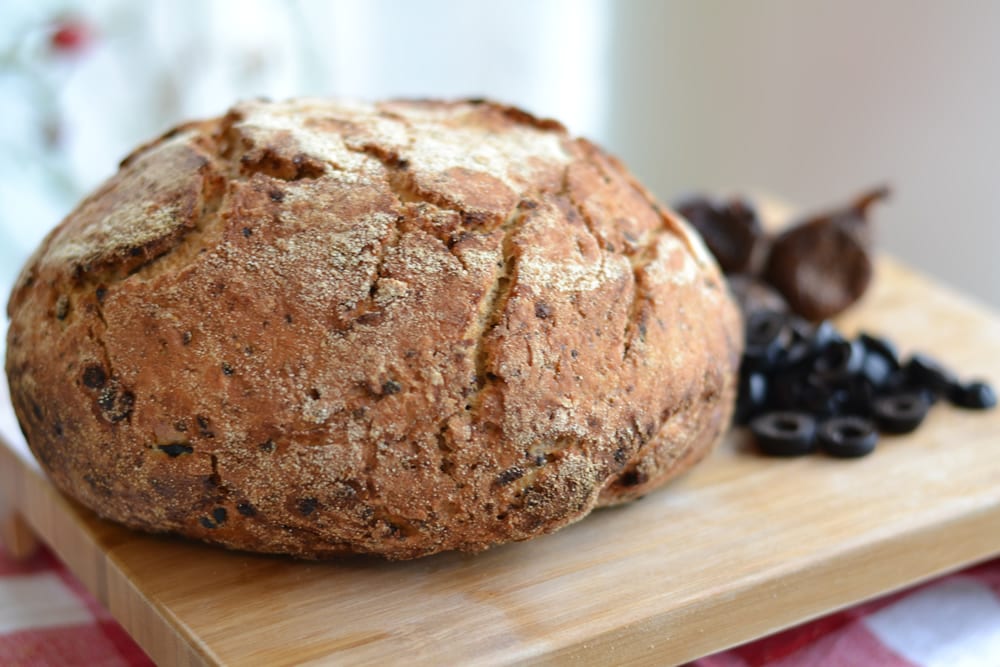
Fig and Black Olive Sourdough Bread
- 1 cup of sourdough starter*
- 1 cup of water
- 3 cups of flour
- 1 tbsp olive oil
- 1 tsp of sugar
- 1 tsp active dry yeast
- 1/2 cup diced dried figs
- 1/2 cup olives
- 2 tbsp of semolina flour or corn meal
*If you wish to make this loaf without the sourdough starter simply add an extra 1/4 cup of water instead of the starter and follow along with the rest of the directions.
Preparation
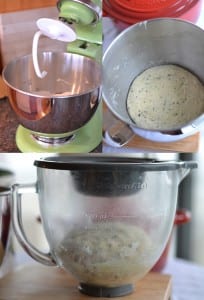
Add the water, olive oil, sugar and yeast into a mixing bowl. Let it proof for 10 minutes until you can see the yeast start to foam and bubble. Dice up 1/2 cup of black olives as well as 1/2 cup of dried figs. Once the yeast has proven itself active, add in the sourdough starter, flour, figs, olives, and mix the ingredients. I use an electric mixer with a bread paddle on it but good old fashioned hands and elbow grease will do a nice job as well. Mix the ingredients together until it makes a nice wad of dough. Form it with your hands to make a nice round loaf and dust it with the semolina flour on both sides. Place the ball of dough back in the bowl and make sure the bottom has plenty of semolina on it. Sprinkle some semolina around the sides of the loaf so when it rises the dough will pick it up on the sides as it expands. The reason why we’re doing this is so that the loaf, once risen, will simply fall out of the bowl into the baking dish instead of sticking to it. Cover the bowl now with a plastic lid or plastic wrap and let the dough rise for 2.5 to 3 hours, or until the dough triples in size. Note: The dough will only go through one rise! Now go clean the house or watch a few episodes of Two Greedy Italians!
Once the dough has risen nicely, preheat the oven to 475 F/245 C/Gas Mark 9 with the empty cast-iron, lidded casserole dish of your choice inside. I use my Le Creuset french ovens and both the 3.5 quart and 5 quart ovens can manage these loaves just fine. Important! Make sure that the baking dish you’re using can be heated while empty for 30 mins without damage. Cast-iron enameled pots with lids (such as Le Creuset pots) can endure this heat well. Once the oven has reached the baking temperature with the pot inside, put on your oven mitts and remove the pot from the oven and place it on the stove. Carefully tip the mixing bowl and drop the dough from it into the heated casserole dish. Put the lid back on and carefully place it back in the oven. Bake the loaf covered for 3o minutes and then remove the lid and let the top of the loaf brown for an additional 10 minutes. Once the loaf is done remove the baking pot and let it cool for an hour. Note: One of the key reasons for dropping the dough into the pot while it is hot is that it does not allow the loaf to stick to the pot whatsoever and the intense heat during the first few minutes of baking gives the loaf an ‘oven spring’ wherein it will grow and expand even further causing lovely cracks and crevices to form on the top during the first stage of baking.
Once the bread has cooled, try it with a bit of butter or with a nice sharp cheese!
Bon appetit! Good eating to you…
Please feel free to leave comments or suggestions about this recipe below.
